|
|||||
|
PlayStation Development Network - PSXDEV Windows XP Virtual Machine Revision 1.1
This tutorial will show you how to setup and get Windows XP (32-bit) running as a virtual machine on your system for easy PlayStation 1 development.
First off, make a new folder under 'C:\psyq\' called 'vpc'.
NOTE: There is a mistake in the Psy-Q INI file under C:\psyq\bin.
[DOWNLOAD PSXDEV_WINXP_VPC.001] Revision 1.1
Once you have done that, extract the file 'PSXDEV-HDD.vhd' from the archive into the working directory ('C:\psyq\vpc'). It is recommended to use 7Zip to extract the HDD image, as some decompression programs may not work correctly and might result in extraction error(s).
The next thing you have to do is download Microsoft's Virtual PC 2007. You can do that by clicking the link below (a new window will open directing you to Microsoft's official website where you may download the 32-bit or 64-bit version).
After the install has successfully completed, click on the 'New...' button as seen in the image below.

Click 'Next', followed by 'Create a virtual machine' followed by clicking 'Browse'. 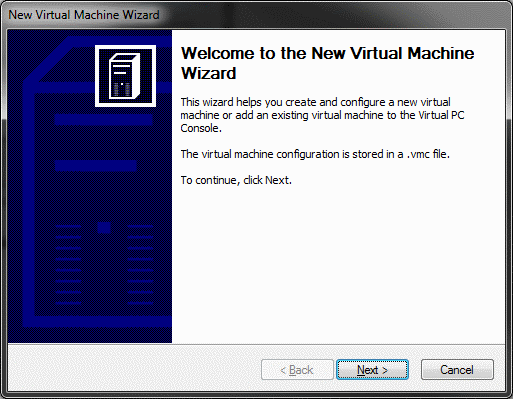
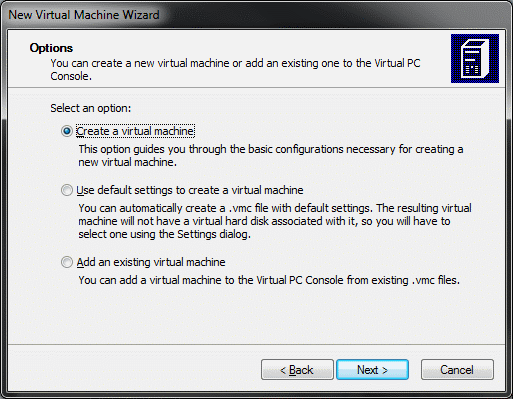

After clicking on the 'Browse' button (seen in the above image), locate your working directory ('C:\psyq\vpc') and save the file as 'PSXDEV' (PSXDEV.VPC). Once done, click 'Next' to proceed.
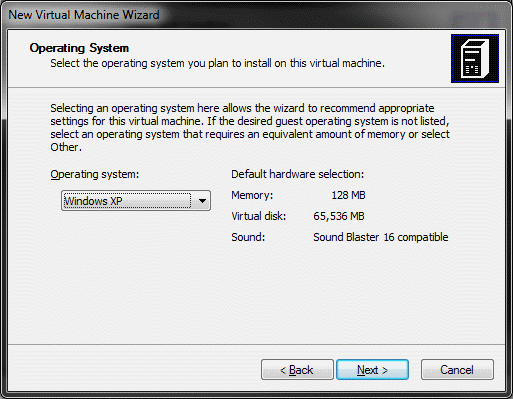
Once done, click 'Next' to proceed.
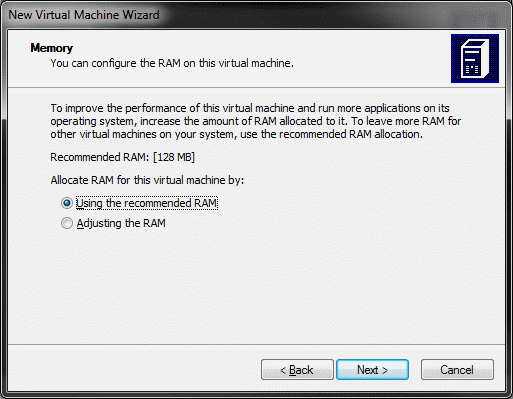
Now click to select and use 'An existing virtual hard disk', followed by 'Next' again. 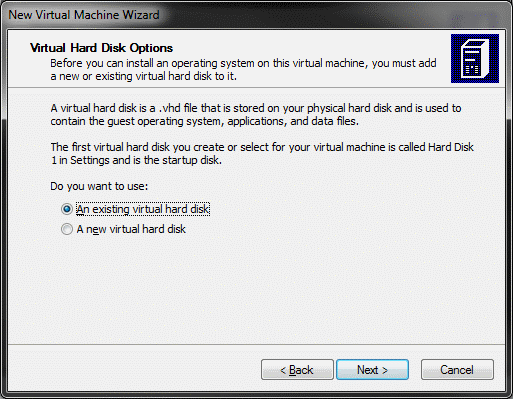
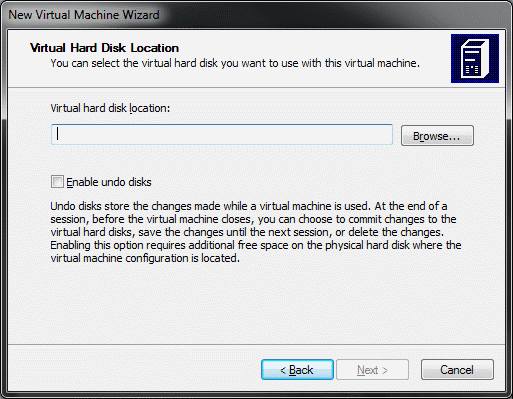
Click on 'Browse' to find an existing virtual machine hard disk drive. Navigate to your working directory and select the file (PSXDEV-HDD.vhd) that was extracted from 'PSXDEV_WINXP_VPC.zip'.
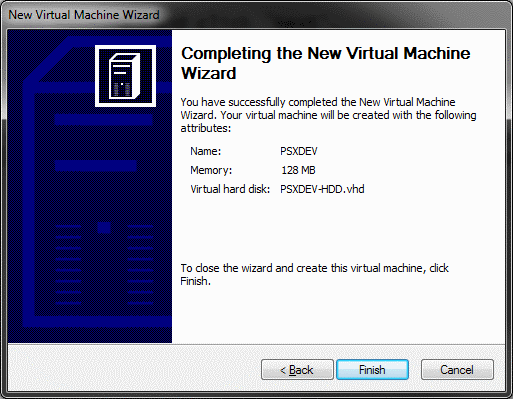
Congratulations! You may now simply click on 'Start' (as seen blanked out in the first image) to boot up into Windows XP, pre-configured and ready to go for PlayStation 1 Development.
|
|||||
|
Copyright © 2012-2023 PSXDEV.NET ~ No Cookies, No Tracking & No Ads. The Way the Internet Was Meant to Be ~  , "PlayStation", , "PlayStation",  , ,  , "DUALSHOCK", "Net Yaroze" and "PSone" are registered trademarks of Sony Computer Entertainment Inc. , "DUALSHOCK", "Net Yaroze" and "PSone" are registered trademarks of Sony Computer Entertainment Inc. This page is for informational use only. The user of this software, assumes full responsbility ensuring its use in accordance with local and federal laws. The software and hardware on this site is provided "as-is", without any express, implied warranty or guarantees. |